Last Updated on July 4, 2022
If your drill bit has broken, you might wonder, “Can you still use it?” The answer to that question is a resounding “yes.” It is perfectly possible to drill through a broken drill bit with a new one if you have a screw extractor and WD-40. Here’s how to do it. First, you’ll need to find a drill bit that isn’t too old.
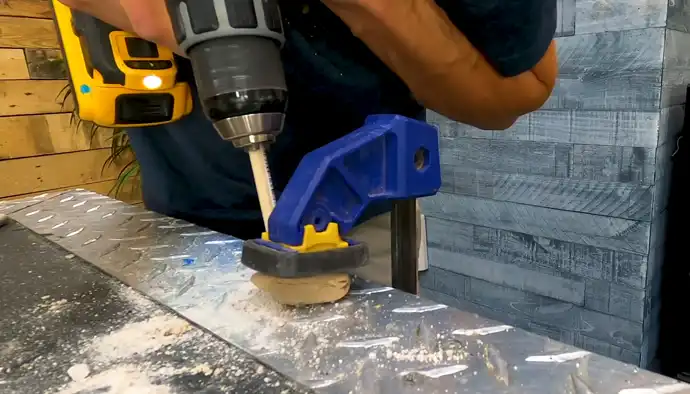
Using a drill bit to drill through a broken drill bit
Using a drill bit to work through a broken drillbit can be a frustrating experience. However, it’s sometimes necessary. A broken bit usually has rough edges, which can be smoothed out by using a diamond rasp.
You can also use a center punch to create a divot in the broken bit. The divot allows you to continue drilling.
Another common drill issue is drilling into a PCB, which can lead to a variety of failures. If the PCB is not of the correct quality, it could result in a broken bit.
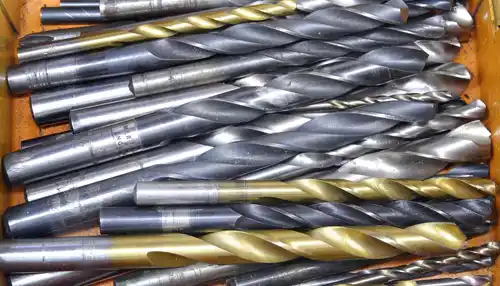
Additionally, drill bits are designed for different applications. This means that if you’re drilling into the wrong material, your drill will break. When this happens, it’s important to use the correct drill bit for the job.
While a broken drill bit is unusual, it does happen. In most cases, the broken drill bit will be longer than the medullary canal. If you have a drill bit with a larger diameter, you may still be able to use a push back technique.
This technique is a viable option that may also work on other sites. For example, a 34-year-old male with a comminuted mid-diaphyseal fracture of the femur presented to the emergency department with this issue. This patient underwent a statically locked femoral intramedullary nailing technique.
Another option to drill through a broken drywall screw is to use an installer bit. These bits are long and flexible. Some have 72-inch shafts. The spring steel allows the bit to bend inside walls.
It can even drill through studs from a light switch box. A flexible drill bit comes with special tools that help to guide the bit while drilling. However, the use of these tools does not solve the problem of not being able to see where the operator is drilling.
Using a screw extractor to remove a broken drill bit
When using a screw extractor to remove a broke drill bit, make sure to follow the manufacturer’s instructions. First, drill a small pilot hole through the broken screw’s rough head, then insert the extractor into the hole.
Oiling the drill bit before using it is helpful, because it prevents overheating and helps loosen stubborn screws. Once the screw is loose, use light pressure to remove the broken drill bit.
Using a screw extractor to remove the broken drill bit is simple. First, make sure the screw is slightly tilted. Then, insert the screw extractor into the hole, and then turn counterclockwise to extract it.
If the screw is too tight, a chisel or locking pliers may be able to help. It’s also possible to use air to loosen the drill bit.
Screw extractors are best used when the screws are stripped or seized. The screw is stripped if it is stuck to a metal piece. It may be rusted or affixed to a metal surface.
To loosen its grip, you may need to use penetrating oil. Once the screw extractor is attached to the broken screw, drill it slowly and accurately. Depending on the screw size, it can handle screws up to 3/16″ in diameter.
When using a screw extractor, you should wear safety glasses while using a screw bit. Safety glasses will keep metal bits from flying into your eyes. Also, be careful not to drill too deep.
Drilling too deep will cause the bit to crack and will not yield a clean hole. Occasionally, drilling is affected by drilling issues. When this occurs, you may need to drill out the broken bit or replace it with a harder drill bit.
Cleaning a broken drill bit
First, you must remove the broken drill bit. To do this, you can use locking pliers. Simply clamp the end of the broken drill bit with the pliers and twist the pliers counter-clockwise to loosen the bit.
Once the bit is loose, place a drop of cutting oil on the pliers’ jaws. This will help them grip the broken drill bit. Once the bit is loose, it can be removed with a screw extractor.
You can also use pliers to remove the drill bit shaft. You can then clean around the hole area with a soft bristle brush. You can also use a moist paper towel to wipe away metal filings.
Once the hole is clean, allow the aluminum panel to dry completely before applying sealant compound. After the bit has dried, you can apply the sealant compound directly on top of it. This way, it will be easier to apply.
If you are unable to remove the broken drill bit with a screwdriver, you can try to use a masonry bit. These bits are designed to drill into concrete or masonry.
When using this type of drill bit, make sure to test it first on scrap aluminum to avoid damaging it further. Another way to test if it will work on the damaged bit is to use saltwater. The saltwater test will let you know if it is safe for use.
Using WD40
Using WD40 to cut through a broken drill bit may seem like a no-brainer. The product can be used on any broken drill bit, including the one that came with your new drill.
However, some drill bits are prone to sticking and becoming stuck. Here are some tips to prevent this from happening to you. First, check whether your drill chuck has any water or debris. If it does, try applying WD-40 on it to remove the gumming. Next, use a mallet to force the jaws back into the chuck.
If the bit has a rough edge, you can try to use a diamond rasp or center punch to smooth out the edges. If the bit is stubborn, you can also try adding tap fluid.
Always remember not to yank the broken bit out of the material – this could cause cracks. To avoid this, be sure to use a drill bit with a smaller diameter. This method will make it easier for you to drill through the broken drill bit.
To use WD40 to drill through a broken hole, first mark the spot where you want to drill. If you have to drill a large hole, you may have to use several different drill bits.
You may also want to use a level when drilling, so that you’re drilling a straight hole. Finally, let the drill bit cool before you remove it. This step is crucial to ensuring you don’t break the bit.
Using cutting oil to clean a broken drill bit
Using cutting oil to clean a broken drilling bit can save you from a frustrating situation. The oil will lubricate the broken drill bit’s threads and prevent damage to the drilling machine.
It also prevents dust from collecting on the bit and will prevent a drill from binding up. The following are a few tips to use cutting oil to clean a broken drill bit. Once you’ve applied the oil, you can turn the broken drill bit.
If you notice that the drill bit is hot or warm to the touch, you should stop drilling and add a few drops of cutting oil to the drill. Adding cutting oil will speed up the drilling process.
It’s a good idea to drill at the lowest setting and increase the speed as you drill deeper into the material. If you’re using cutting oil, you can also avoid using the drill as often.
Another method to clean a broken drill bit is to use a screw extractor to remove the damaged screw. First, you need to drill a pilot hole.
This hole should be small enough to accommodate the rough head of the screw. Apply oil to the tip of the drill bit. You can use a hammer to strike it in the center. Then, slowly increase the drill’s speed and remove the broken drill bit from the hole.
Using a rescue bit to remove a broken drill bit
If your drill bit breaks, you can use a Rescue Bit to replace it without damaging the damaged part. This hardened bit is designed to drill out difficult-to-drill tooling.
The manufacturer recommends using slower speeds at first, and gradually increasing the speed until the bit’s RPM reaches a certain maximum. Remember, the faster the drill bit turns, the duller it will become.
The first step is to break the damaged bit in half and then place the Rescue Bit on the other end. You may have to do this several times until you are able to get the broken bit out.
You should also remember that the Rescue Bit will pulverize most materials. If you do not know the exact measurements of your drill bit, you may want to consult a manual or online guide.
You may also need a pair of locking pliers. These pliers can be difficult to turn, so try using serrated jaw pliers instead. As the drill bit is broken, a drop of cutting oil may help you turn it.
Be sure to use safety glasses – they can be found at most home improvement stores and department stores, as well as online. In addition to safety glasses, you may want to invest in a set of gloves and goggles.
Frequently Asked Questions (FAQs)
-What are some ways to remove a broken drill bit?
There are a few ways to remove a broken drill bit. One way is to use a pair of needle-nose pliers to grab the bit and twist it out. Another way is to use a drill bit extractor, which is a tool that is inserted into the drill bit hole and then turned to extract the bit.
-How can you prevent a drill bit from breaking?
Use a drill bit that is made of high-quality materials and is the appropriate size and style for the job. Do not use a drill bit that is damaged or has been sharpened too many times.
-What are some common causes of drill bits breaking?
There are a few common causes of drill bits breaking:
-Using the wrong type of drill bit for the material being drilled
-Drilling too quickly
-Applying too much pressure
-Not keeping the drill bit sharp
-What are some tips for drilling through tough materials?
There are a few different ways to drill through tough materials, depending on the specific material and the desired results. For example, if you’re trying to drill through metal, you’ll want to use a high-speed drill bit and lubricate the drill bit and workpiece to prevent heat build-up.
If you’re trying to drill through concrete, you’ll want to use a hammer drill with a masonry bit. And if you’re trying to drill through stone, you’ll want to use a diamond-tipped drill bit.